Products ► Torque ► Advanced Torque Sensors ► Model XtreMA
Model XtreMA
 |
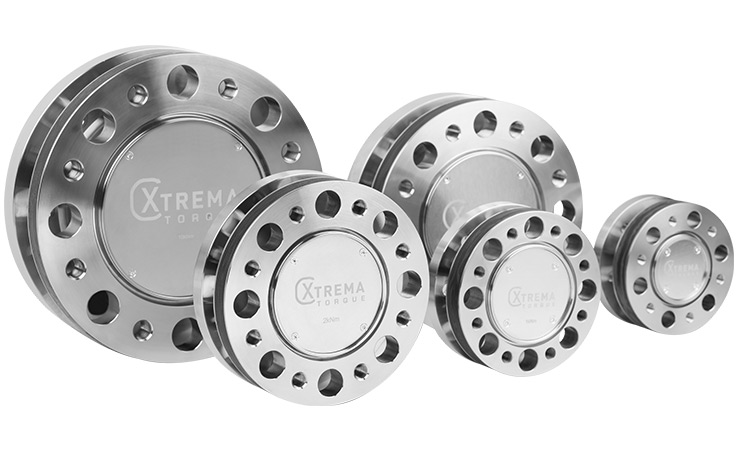
XtreMA TORQUE – The Highly Accurate Measuring Flange Series for Flexible Use from 50 N·m to 10 kN·m
The new XtreMA series of measuring flanges offers not only an attractive price but also the typical advantages for the most varied installation spaces and connection requirements with the highest accuracy.
A test bench measuring device for flexible use.
Torque acquisition is the central parameter in the development of combustion engines, hybrid and electric modules – and accordingly also on the test benches used for validation.
Since the optimization potentials are getting smaller and smaller, high-precision measuring equipment is necessary to be able to work out these small improvements in a reproducible way. At the same time, the desire for real test conditions (idle, partial and full load, as well as a wide operating temperature range) is high.
The new XtreMA TORQUE product range offers an improved alternative to the torque flanges currently used on test benches.
Product features:
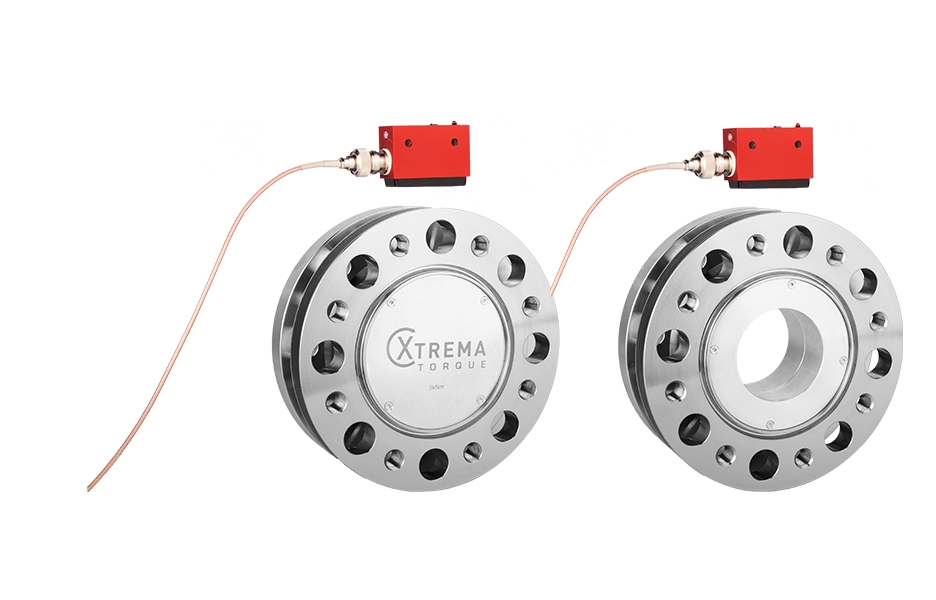
The DIN flange pattern used, which is compatible with HBM torque sensors, allows simple integration into new and also existing test benches (retrofit). The optional hollow shaft flange design contributes to the flexibility of the XtreMA TORQUE for use in test benches. This is an immense advantage for coaxial drive concepts, since an additional drive train or additional cables can be routed inside the measuring flange.
The flange series is generally specified with accuracy class 0.05. In the extended version, accuracy class 0.02 is also available.
For electric motor test benches, the extremely high-speed stability is particularly relevant. The new design also takes this requirement into account and offers a speed stability of up to 32,000 min-1.
Outstanding properties of XtreMA measuring flanges:
- Compact pick-up
- No enclosure necessary
- Ranges of up to 10 mm
- Hollow shaft design optional
- IP67 optional
- Extended temperature range -50 to +160°C
The class accuracy is only valid for a ∆T 10°C at a nominal temperature of +22°C. At outside this range, the errors, zero drift Tk0 and sensitivity TKc, increase considerably. The main source of error is the behavior of the torsion body itself – both the zero drift and the measured value errors must be mentioned here. The temperature dependence of these error types is serious.
The measured value error is significantly influenced by the modulus of elasticity. Depending on the quality of the steel, the E-module deviates by up to 24%/100°C. The error of a measuring amplifier is here smaller by more than a power of ten and thus subordinate to other sources of error, such as the drift of the Young’s modulus.
As is well known, both the drive machine and the test specimen supply considerable thermal energy when operating under full load. This leads inevitably to the fact that the heating of the measuring flange is beyond the specification of the class accuracy. A fatal situation for friction power measurements.
Especially in test benches for combustion engines, the measuring flange is additionally heated by the waste heat of the engine during operation. Due to the proximity to the engine, the shaft temperature can rise up to +160°C.
Air conditioning of the flange, in turn, is often hardly possible. Therefore, the influence of the increased ambient temperature on the measured values is a common problem in reality.


